I love Tasmota. It runs on cheap ESP8266 hardware like the Sonoff basic and other devices like the D1 Mini. It’s perfect for home automation and integrates easily with Home Assistant.
So when I moved to a new house and needed to install new wall switches I had to decide if I was going to buy more Z-Wave switches or use (much) cheaper WiFi switches.
My girlfriend and I surveyed the house to find all the switches we could. There were 38 in total and 15 we wanted to convert to being smart. I already had 5 Z-Wave switches so we only needed 10 switches, not too many I thought. Then I went on Amazon and remembered how much Z-Wave switches cost. They were $40 each at minimum compared to the $12 WiFi switches. That, coupled with the tutorials I’ve seen from The Hook Up, digiblurDIY, and DrZzs, gave me the push I needed to convert some cheap Tuya compatible switches to Tasmota.
The Model
I used the awesome database of supported devices made by GitHub user blakadder to find which device had the features I wanted, then looked at the process of Tasmotizing them.
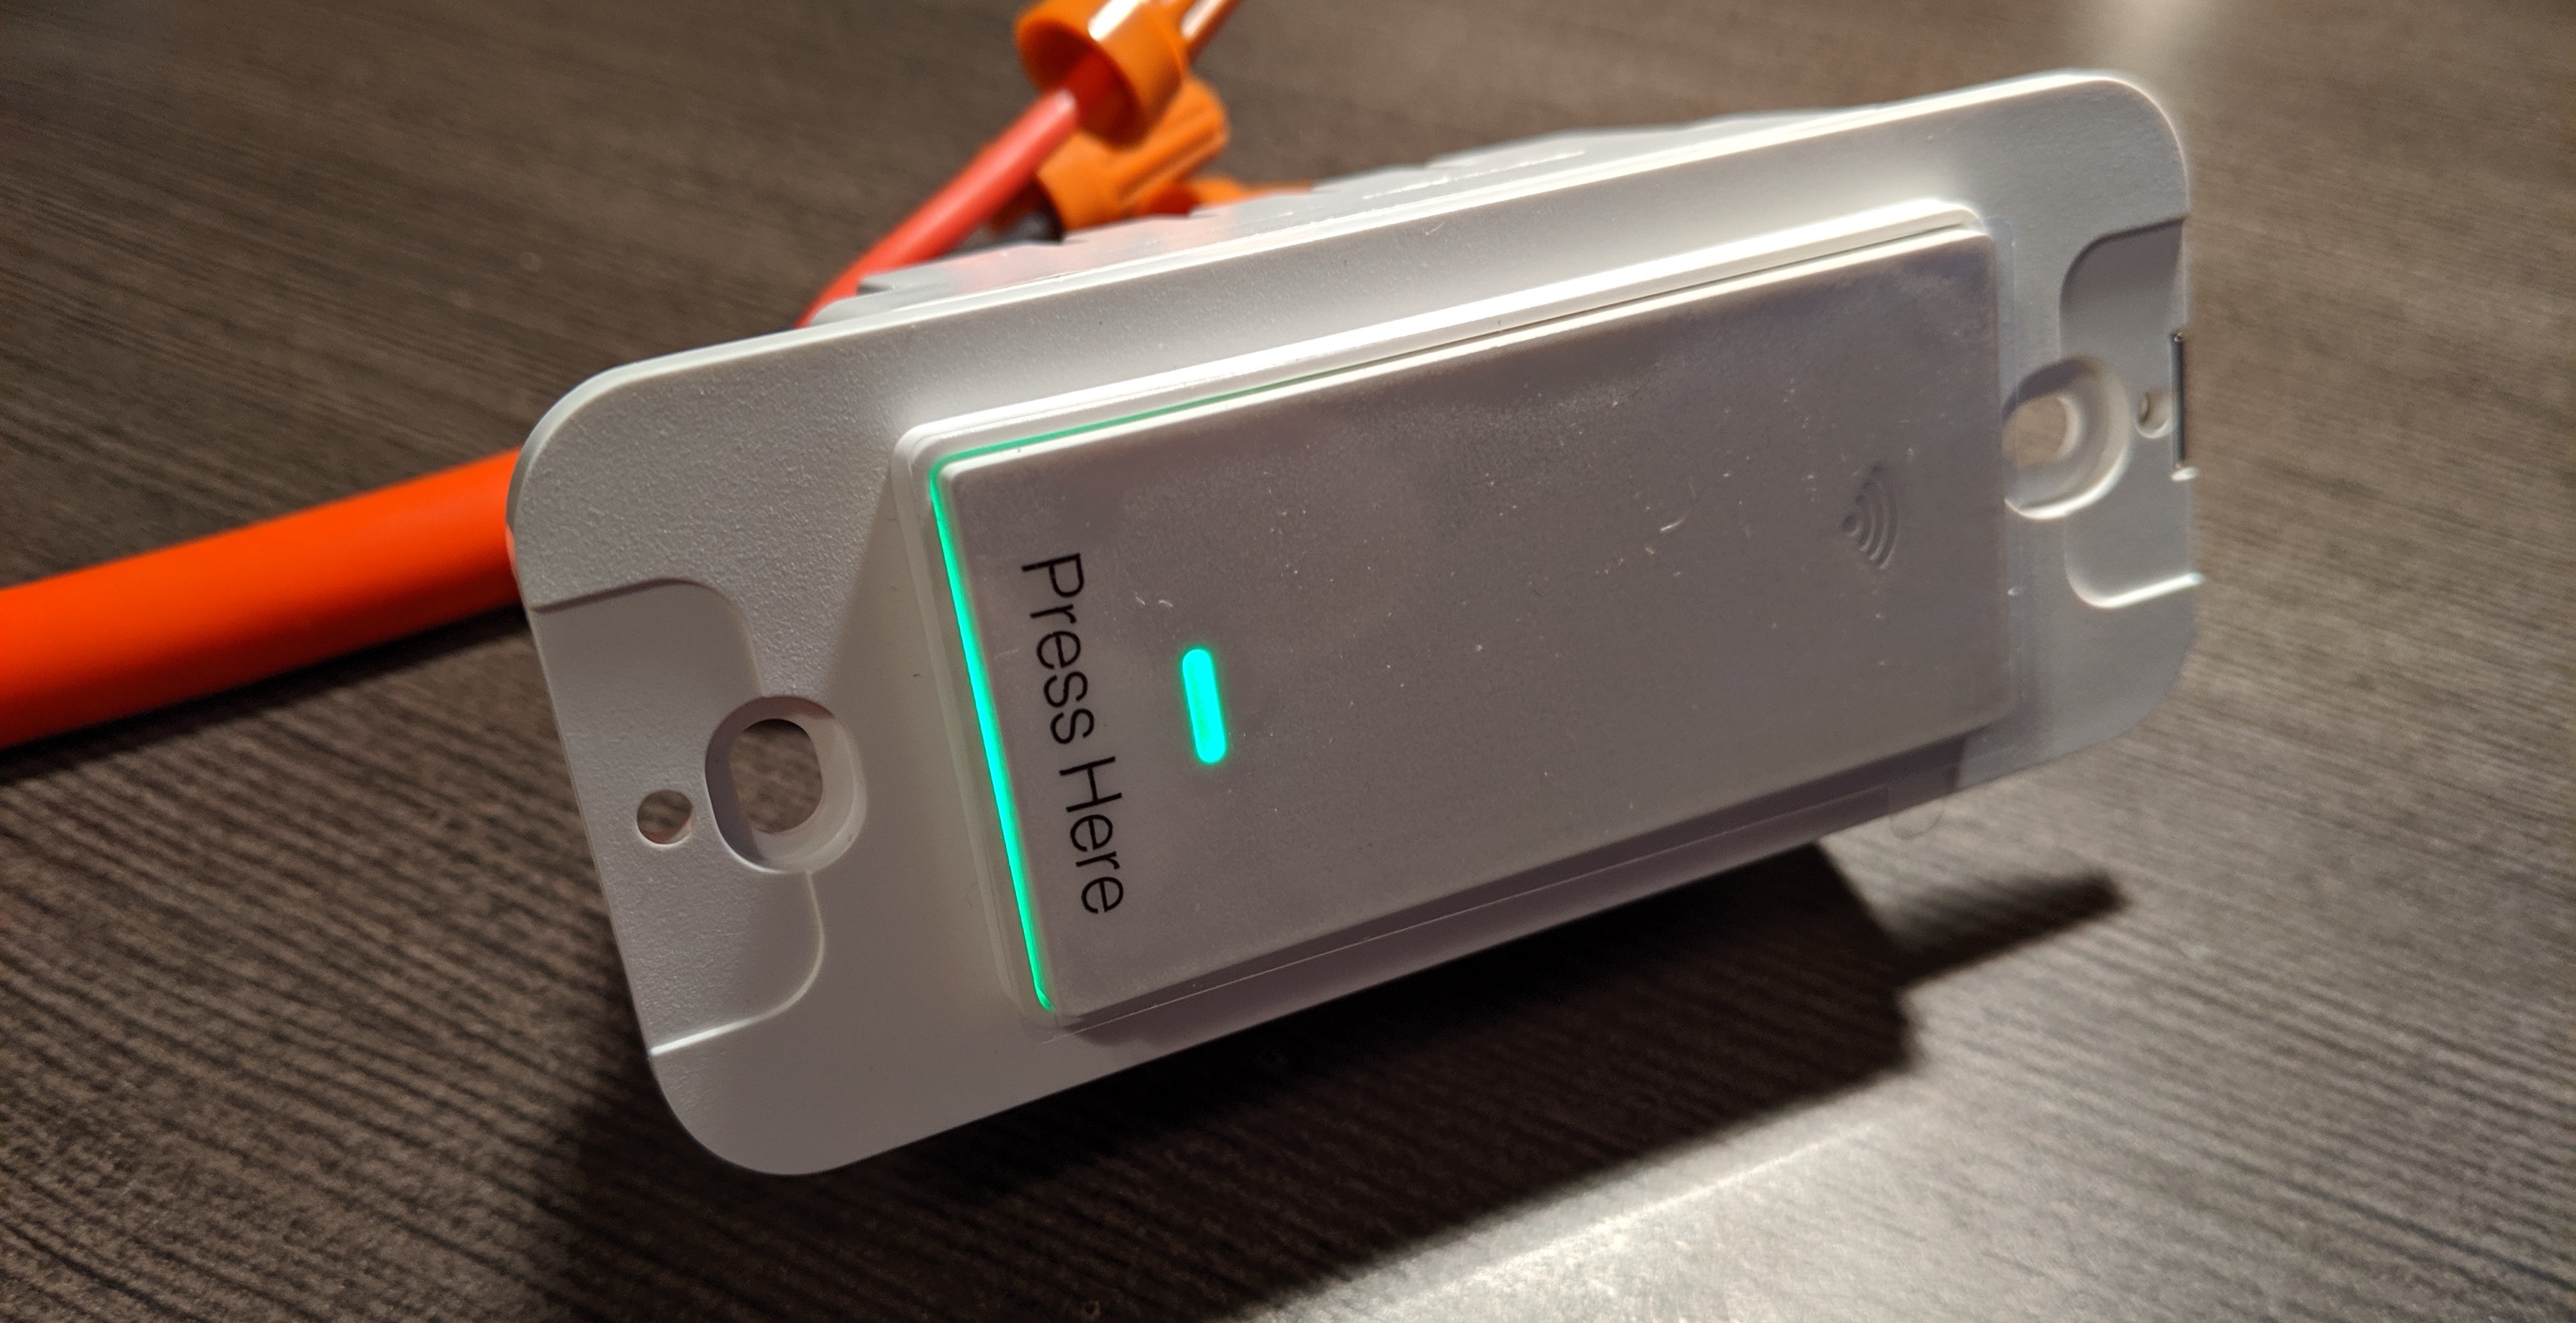
After a lot of research I decided to go with the Gosund KS-602S.
These switches allow OTA flashing with the amazingly easy to use Tuya convert script but they also have physical serial connectors, just in case I needed to manually flash Tasmota.
Some other manufacturers have updated their firmware to not allow scripts like Tuya convert to work.
The Process
Using Tuya convert handles all the complicated stuff for you. All I had to do was get a Linux machine working that could work as a WiFi server for the script.
My desktop hasn’t been setup since the move so I installed the newest Raspbian on a Raspberry Pi and used it instead.
I didn’t want to install the switches only to find out I needed to flash Tasmota physically so I instead wired each switch to a plug and powered it that way.
If you are interested in exactly how I did this send me a Tweet and I will write another article covering that topic.
Installing Software
For the most part I followed digiblurDIY’s wonderful video showing the exact process, which couldn’t be simpler.
First you have to SSH into your Raspberry Pi and update it using all the normal commands.
sudo apt-get update
sudo apt-get dist-upgrade
Interestingly Raspbian doesn’t have Git or Network Manager installed, so those are the only applications that need to be installed.
sudo apt-get install git
sudo apt-get install network-manager
After that completes clone the Tuya convert script from its GitHub page. The Tuya convert script does a great job of explaining the process of running it. It’s as simple as cloning the repo, installing some libraries, then running the update script.
git clone https://github.com/ct-Open-Source/tuya-convert
cd tuya-convert
./install_prereq.sh
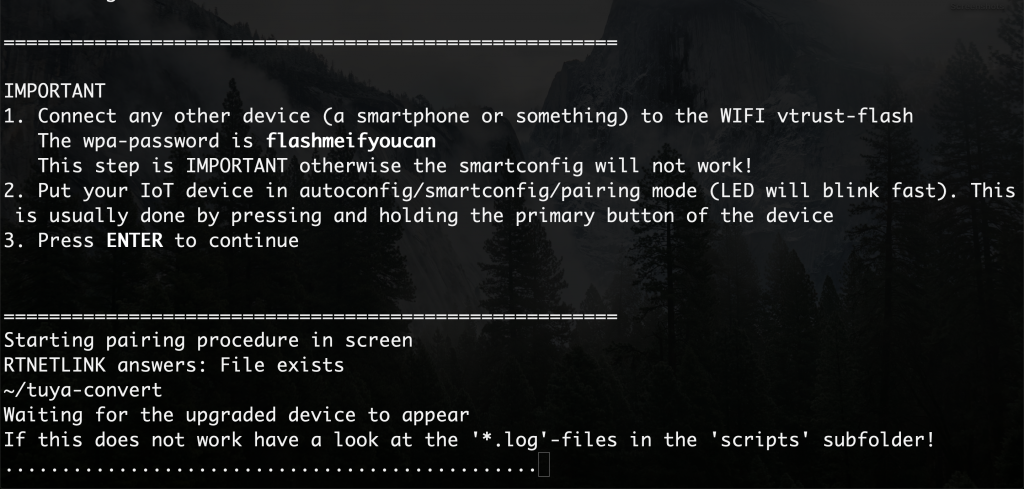
./start_flash.shOnce it starts it will ask you if you’re sure you want to flash you device, because you could brick it. Confirm that you want to and Tuya convert will create an access point and a fake update server for the device to connect to.
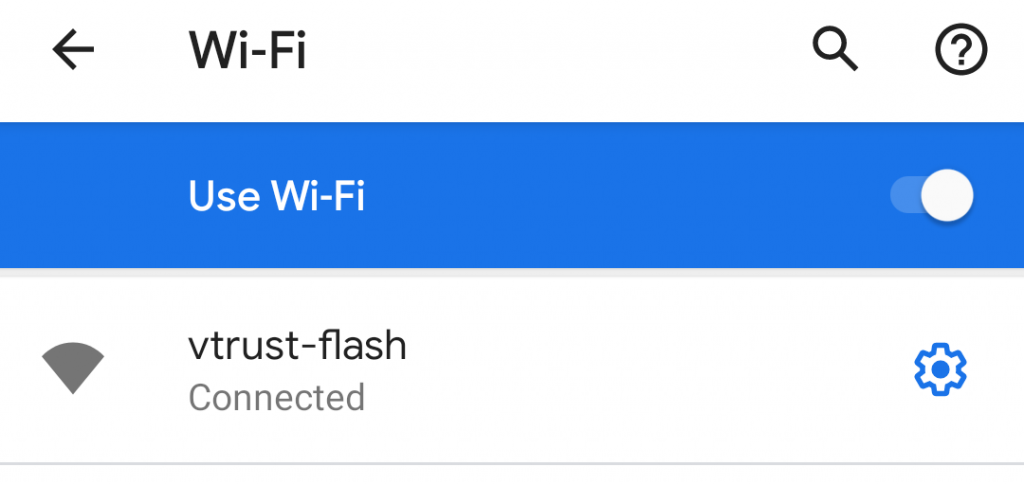
On another device connect to the vtrust-flash WiFi with the password flashmeifyoucan.
Put your device into pairing mode, I had to hold my switch down for 5 seconds, then sit back and watch Tuya convert do it’s job.
Once done you need to issue an update command to the device itself, but Tuya convert shows this command very clearly.
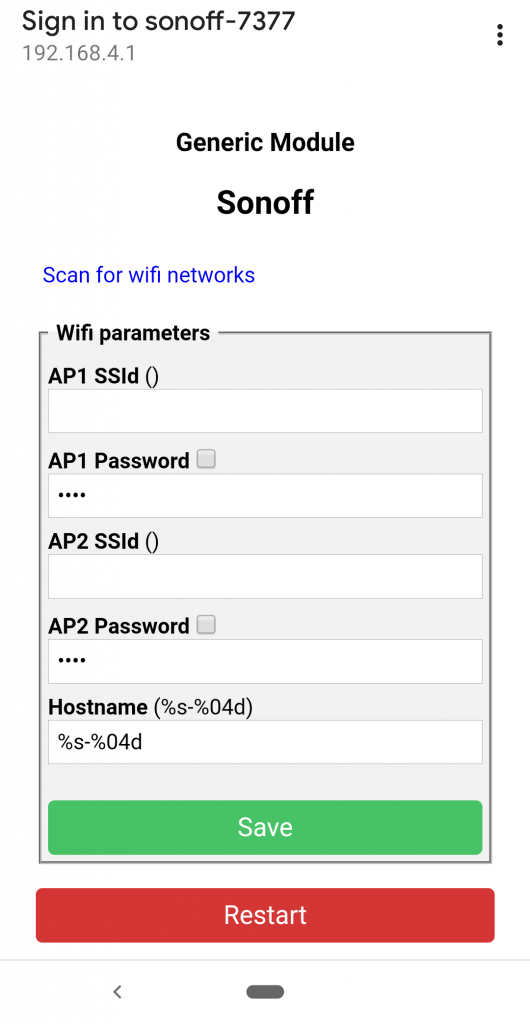
Once that’s done a new WiFi network will appear, sonoff-####, where #### is a random number identifying your device.
Connect to it then go to http://192.168.4.1 and configure Tasmota like you would for another other device, entering your SSID name and password.
I did a little more after this and configured the button to work the way I wanted starting with blakadder’s GPIO template.
{"NAME":"Gosund KS-602S","GPIO":[17,56,0,0,0,0,0,0,0,0,21,0,158],"FLAG":0,"BASE":18}I found that the switch was a little too slow for my taste. This is because Tasmota allows for different actions to happen when you double or triple press the button. This is a cool feature but something I will rarely use so I turn it off with the following command.
setoption13 1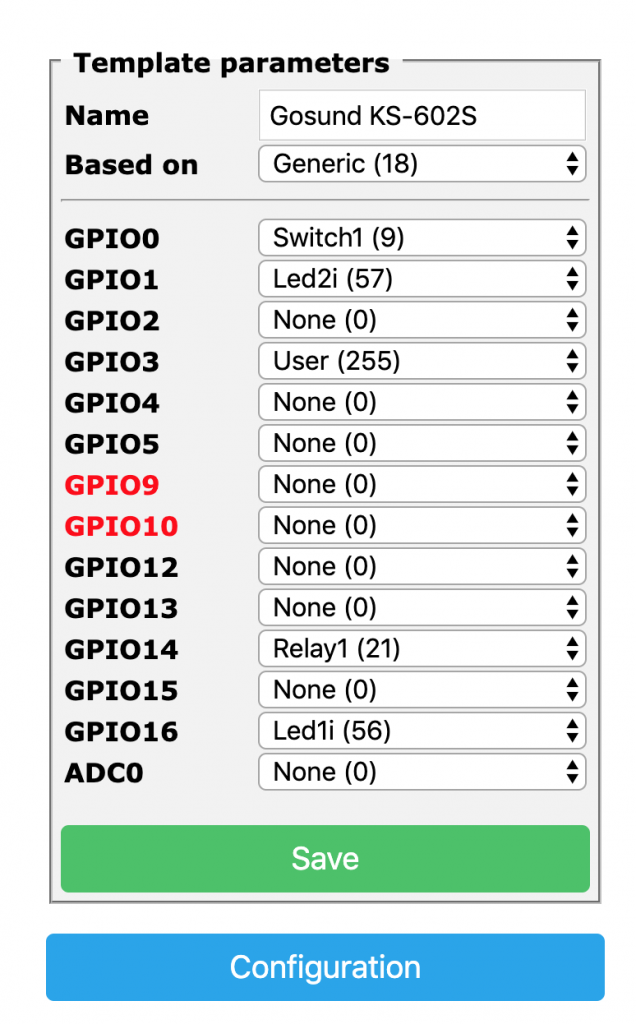
Be sure to select the template you just created from the “Configure Module” menu.
This is also where you can have a lot of fun by adding long press or double click commands to the switch. I haven’t added any of these yet but I’m planning on adding a secret switch somewhere in the house that activates some secret functionality using this technique.
I hope you give this a try yourself. If you hook the switch to mains power please be careful and take all necessary safety precautions.
If you want to talk to me about home automation please send me a tweet at @alanjames1987 on Twitter.
If you want to enable auto discovery in Home Assistant be sure to run the following commands in the Tasmota console.
SetOption19 1
Leave a Reply
You must be logged in to post a comment.