
Traditionally web applications were built using backend technology. A request is made to a server and based on the URL being requested the server responds by generating a resource, usually HTML.
To do this servers need to “route” requests to different resource generation logic. This logic is what backend developers build.
This worked well for many years, but as browsers became more advanced code started being moved from the backend to the frontend.
Nowadays most applications are a mix of backend and frontend code centered around multiple pages being requested from a server. However, a few years ago a new type of application architecture was created, the single page application, abbreviated as SPA.
What is Sammy.js?
Lets first talk about what a SPA is.
A SPA is an application built primarily with it’s logic in the frontend. As this pattern became more popular several frameworks cropped up to fill the need or organizing the massive amounts of JavaScript that make SPAs function. Most frameworks included all the bells and whistles you could ever want, but some were created that just implemented a few features very well.
Sammy.js is one of those frameworks.
Just like Express in Node, Silm in PHP, Flask in Python, and Sinatra in Ruby, Sammy.js is a micro framework. It’s purpose is to route requests and render views. Just like those others it has no built in model layer, but unlike those others it’s a client side framework for making single page applications.
How is it Better than Frameworks like Angular
One of my big problems with Angular has always been the lack of freedom the framework gives you. A developer has to develop an application the Angular way and has very little choice when it comes to structure or tools being used. Libraries like jQuery must be used sparingly because Angular prefers you use it’s data binding library for DOM manipulation. Even default HTML attributes like “value” can’t be used because Angular uses “ng-value” for data binding. The Angular learning curve is also very steep. A simple Angular application can be written quickly, but when it comes to writing complicated features, like sortable data binded lists, you will find yourself banging your head against your desk because it feels better than working with Angular.
On the other hand Sammy.js has very few features, is simple, and takes nearly no time to learn. If you know any of the server side frameworks mentioned above a Sammy.js project will be instantly recognizable. I can’t stress enough how similar Sammy.js is to Express. If you know Express you already know Sammy.js.
Because Sammy.js is so small it can be used with nearly any other framework or library.
For example: Sammy.js supports several templating systems, like EJS (Jupiter, not VisionMedia), HAML, Handlebars, Hogan, Mustache, Pure.js, and John Resig’s Simple JavaScript Templating.
Of course you can use any other templating engine you want, like Underscore’s templating engine, but honestly, you probably won’t need to.
If you like Angular data binding, but don’t want to use it for everything you can use Rivets.js to add this feature. If you want to use jQuery or jQuery UI Sammy won’t complain.
This makes it easy to pick and choose the technology your application should use, rather than just having to accept a stack created by someone else.
Let’s Finally Get to Coding
Structure
Just like Backbone, Ember, and Angular, Sammy.js functionality can be broken up into different directories. Below is the typical Sammy.js application structure I use.
config/
controller/
css/
    core/
    forked/
    vendor/
img/
lib/
    core/
    forked/
    vendor/
misc/
model/
upload/
view/
app.js
index.html
This GitHub repo uses that folder structure, and is the foundation for most of my applications.
Most of my applications also use Bower for component management and Marilyn as my model layer, but I won’t be covering the use of either of those in this post. You can use any model layer you like.
If you’re not using Bower, you would put the Sammy.js files in the lib/vendor folder and load them in the index.html. You would then load the app.js file and all your controllers and models after.
For this example I will be creating an application that uses two routes, and thus I will need two controllers. My routes will be “/#main” and “/#user”.
To build controllers I must create two files in the controller directory. I’ll call them main.js and user.js.
config/
controller/
    main.js
    user.js
css/
    core/
    forked/
    vendor/
img/
lib/
    core/
    forked/
    vendor/
misc/
model/
upload/
view/
app.js
index.html
Here is the contents of the index.html at this point.
<!DOCTYPE html>
<html>

<head>

<title>Sammy.js Application</title>

</head>

<body>

<script src="/lib/vendor/jquery/jquery-2.1.1.min.js"></script>
<script src="/lib/vendor/sammy/lib/sammy.js"></script>

<script src="/app.js"></script>

<script src="/controller/main.js"></script>
<script src="/controller/user.js"></script>

</body>

</html>
It’s important that the app.js script be included before the controllers, because the controllers will be using code setup in app.js.
As you can see I have also included jQuery in my HTML. This isn’t just because it’s nice to have, it’s actually a dependency of Sammy.js
Routing
After you’ve altered your index.html file you need to start building the Sammy app by creating a Sammy router in the app.js file. It can be created in one of two ways. Either using the global Sammy object, or using the sammy plugin attached to jQuery.
Both were created when the sammy.js script tag was added.
var app = Sammy(// ... this will be explained soon
var app = $.sammy(// ... this will be explained soon
I prefer using the global Sammy object because there has been talks in the Sammy community of supporting frameworks other than jQuery, and I want to future-proof my code.
Both of these methods must be passed a jQuery factory selector which gives Sammy.js it’s scope level. This is very similar to Angular or Ember.
Because I’m making a complete SPA I will be using the body as my scope.
var app = Sammy('body');
To start listening to route changes we use the app.run method, passing it the base URL we want to run on. This should be done after a document ready event, to make sure the controllers load.
$(document).ready(function() {
app.run('#/');
});
Sammy.js remembers what routers have been created and stores them within the global Sammy object, similar to how Mongoose stores models.
That means that from anywhere in your code you can now reference your Sammy application using the Sammy.apps variable.
My application would be stored in Sammy.apps.body, because I used the body tag. If you used a different selector you would access it differently.
My app.js file now looks like this.
(function() {

var app = Sammy('body');

$(document).ready(function() {
app.run('#/');
});

})();
I’ve put this code in a self executing function to make sure I don’t pollute the global scope. This is a good tactic when making very large applications.
Now lets create a controller. Add a self executing function to main.js. Inside the self executing function you first need to get access to the Sammy router we’ve just created.
var app = Sammy.apps.body;
We can then start attaching routes to it. Routing in Sammy.js works nearly the exact same as routing in Express.
app.get('#/', function(context){
console.log("You're in the Main route");
});
The first parameter of the get method accepts the URL to listen for and the second is a callback function to run when that URL is visited. context works similar to Express’s request variable, req.
main.js now looks like this.
(function() {

var app = Sammy.apps.body;

app.get('#/', function(context) {
console.log("You're in the Main route");
});

})();
I can do something similar in user.js but listen for a different route.
(function() {

var app = Sammy.apps.body;

app.get('#/user', function(context) {
console.log("You're in the User route");
});

})();
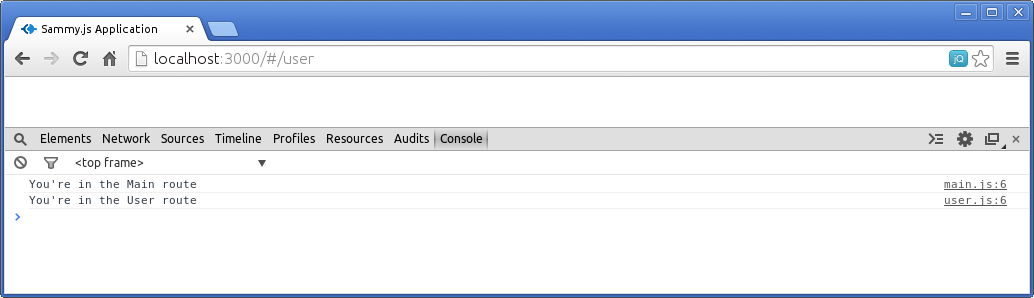
Now I have two controllers with two routes being listened for. If I run this project in a server like MAMP or Serve I will be able to see the console logs I have added.
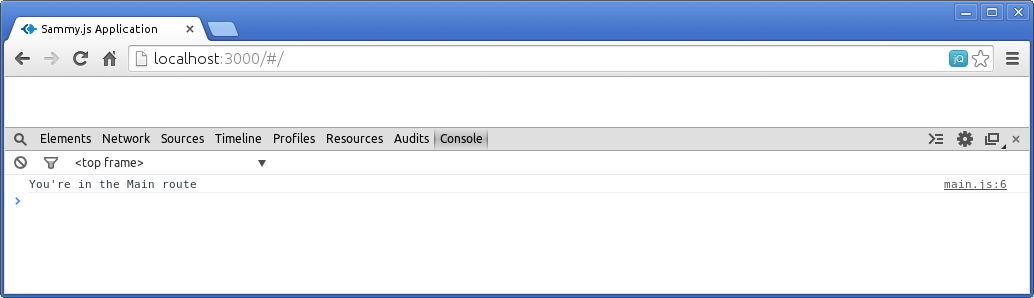
If I navigate to different URLs I will see different console logs being output.
Creating and Rendering Views
Like Express, Sammy.js can render views in many different formats. I prefer jQuery Templates because it’s the exact same as ERB, and EJS, and very similar to PHP’s templating system. jQuery Templates also don’t require any external libraries as they run on jQuery. Finally, unlike Handlebars, which sells itself as “logicless templating”, jQuery Templates allow any type of logic you want in views. This gives a developer the most amount of control. However, this control should be used sparingly.
Configure the Sammy.js Render Engine
Sammy.js has to be told to use jQuery Templates before it can render views with it, again exactly like Express.
To do this we need to include a new script tag in index.html. This file will be the jQuery Templates script plugin built into Sammy.js.
Your index.html file will now look like this.
<!DOCTYPE html>
<html>

<head>

<title>Sammy.js Application</title>

</head>

<body>

<script src="/lib/vendor/jquery/jquery-2.1.1.min.js"></script>
<script src="/lib/vendor/sammy/lib/sammy.js"></script>

<script src="/lib/vendor/sammy/lib/plugins/sammy.template.js"></script>

<script src="/app.js"></script>

<script src="/controller/main.js"></script>
<script src="/controller/user.js"></script>

</body>

</html>
Lastly we need to configure Sammy.js to actually use jQuery Templates as it’s render engine.
In your app.js file add this line. It can be added anywhere, but I like adding it right after I create the app variable.
app.use(Sammy.Template);
Sammy.js will now be configured to render jQuery Templates files.
Lets Create a View
Before we create a view we should create a place to render the view to. I often refer to this as a “view container”.
Add a div to your index.html and give it an id of container. I always put this above my script tags.
<div id="container">
</div>
This will come in useful later.
Now we can create a the actual view. Make file in the /view directory called main.template. In this file we should put some basic HTML to show an output.
<div>
<h1><%= myVariable %></h1>
</div>
However, you will notice there is something odd between the h1 tags. <%= %> is an output statement. It will output the variable myVariable, which we will pass in, into that h1 when this view is rendered.
To actually render this view we will need to alter our main.js controller.
Inside the routing callback function we can use the context.render method to render a view. Remind you of any other JavaScript technology Express?
context.render('/view/main.template', {
'myVariable': 'Some value'
}, function(view) {
console.log(view);
});
The first parameter is a URL to the view you want to render. The second parameter is an object which contain keys that will be mapped to variables in the view, myVariable in that object will be myVariable in the h1 tags. The third parameter is a callback function that will run once the view has been rendered. It will receive the final outputted view, which you can then add to the page using jQuery.
For now lets just console log the rendered view to see if it exists.
Here is the console log we get.
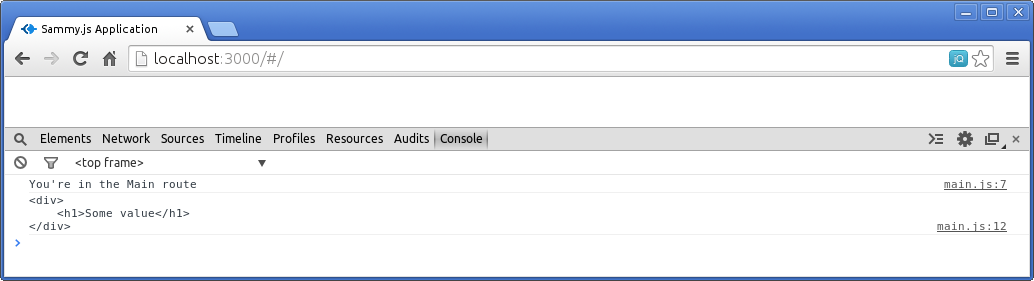
Now lets finally add that view to the page.
We can use the jQuery append method or the jQuery html method to add the rendered view to the page. Use append to add UI view and html to completely replace the page with a page view.
Refresh the page and you will see that the view has been added to the page.
Conclusion
Sammy.js of course does a lot more than what I have shown, but those are the basic things it can do.
It can help organize your code in a very similar manner to Express, and is a very easy framework to work with.
Leave a Reply
You must be logged in to post a comment.